Want to dominate your next duel? Weaving and oozing traps are the secret meta that pros use to lock down fights.
In this guide, we break down how to stop enemies in their tracks and drain their health fast. Ready to become a trap master?
Key Takeaways
- Weaving uses Slowness potions to restrict enemy movement.
- Oozing applies Poison or Harming for continuous damage.
- Splash potions are essential for instant trap activation.
- Sequential timing creates a lethal combo enemies cannot escape.
- Tripwires and observers provide the sneakiest activation triggers.
The Weaving and Oozing Trap Meta: Understanding the CC Synergy
The Core Concept: What is CC Synergy?
PvP is often less about brute force and more about control.
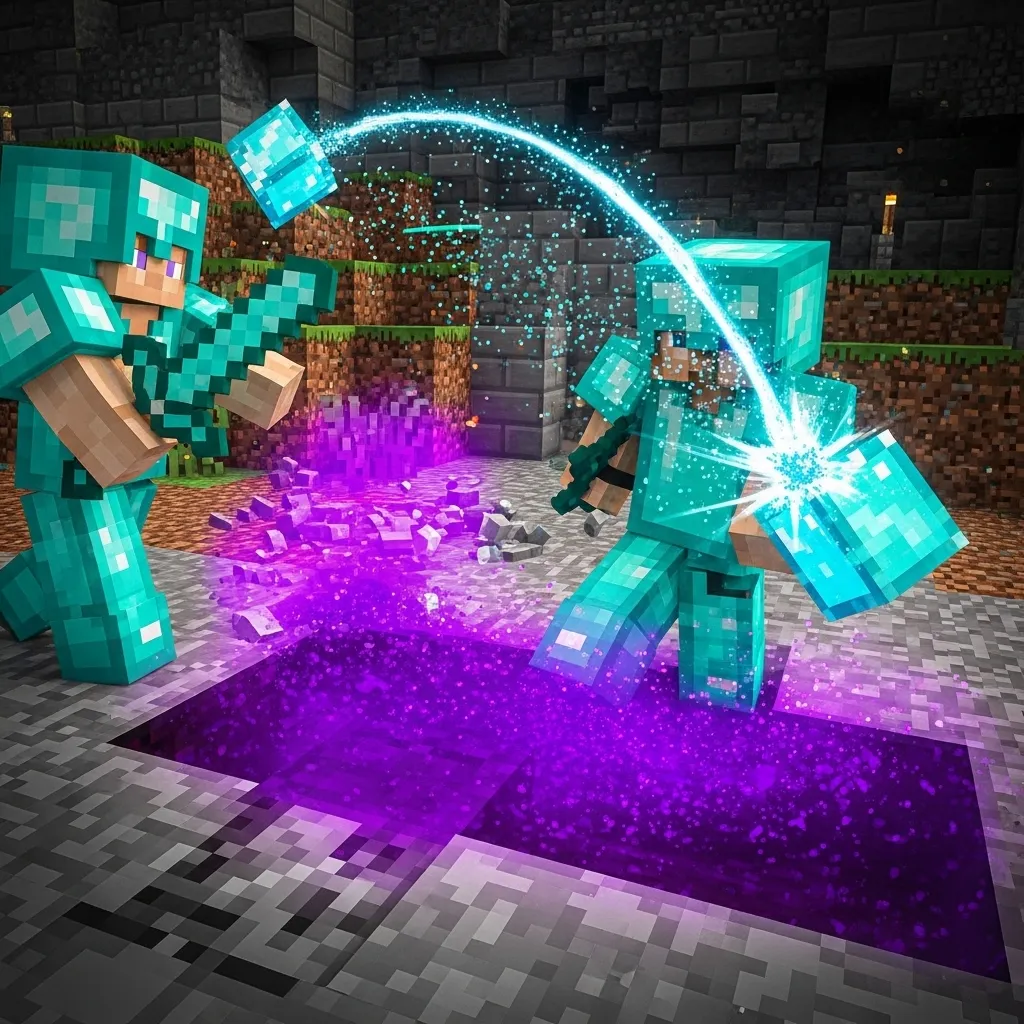
The “Weaving and Oozing” meta is all about trapping your opponent so you can guarantee damage.
Think of it like setting up a bowling pin before throwing the ball. You need to stop their movement first.
Weaving is the process of movement restriction, often using slowing effects or physical blocks.
Oozing is when you apply nasty status effects like Poison, Wither, or instant Harming.
When combined, this creates Crowd Control (CC) synergy that locks down the fight.
Weaving Potion Traps: Slowing Down the Fight
The foundation of weaving is slowing your target to a crawl.
A Splash Potion of Slowness II is your best friend here.
Try throwing it right as they are leaping onto you, or splash it on the ground where you anticipate their dodge.
When they can’t counter strafe effectively, their aim is severely compromised.
For players using custom servers, integrating these potions with strict movement limits is key to winning games on servers like a Custom Vow SMP.
This removal of mobility is what turns a close fight into an easy combo.
A pie chart showing how competitive players allocate potion slots: 55% for Healing/Buffs, and 45% dedicated to Status/CC effects like Slowness and Poison.
Oozing Potion Traps: Applying the Pressure
The Oozing phase targets the trapped enemy with potent passive damage.
A Splash Potion of Poison II is incredibly effective here.
Since the opponent is slowed by the “Weaving” effect, they cannot easily escape the poison area or retreat.
Poison chips away at their health over time, forcing a critical decision: heal or fight back?
Pairing this with a Splash Potion of Harming II gives you instant burst damage.
The sudden damage spike often panics players, making them fumble their healing items.
Perfecting the Trap Placement and Timing
You cannot just throw your entire inventory of potions at your target.
The timing and order are the key differences between a decent player and a pro.
Your goal is to maximize the overlap between the movement restriction and the damage.
Always prioritize the Weaving potion first to guarantee the Oozing potion lands.
Think about the environment. Are you fighting near a narrow bridge or a ravine?
Use that geometry to limit the enemy’s options and make the trap unavoidable.
Here is the ideal sequence for maximum CC synergy:
- Initiate Combat: Start with a sword combo or a quick critical hit.
- Weaving Splash: Immediately follow up with a Slowness II potion.
- Oozing Splash: While the target is slowed, quickly toss a Poison II potion.
- The Finisher: Switch back to your weapon and secure the kill while their health is ticking down.
Remember that the strongest trap is the one they never see coming.
What unexpected utility item do you like to weave into your PvP combos?
Acquisition and Preparation of Potion Dispensers
Crafting the Trap Housing: The Dispenser Core
The first step in setting up a nasty potion trap is getting the main component: the Dispenser.
Think of the Dispenser as the secret weapon cache you hide in a wall. It’s the engine that throws the harmful potions at your unsuspecting enemy.
The crafting recipe is pretty straightforward. You will need seven pieces of Cobblestone, one piece of Redstone Dust, and a single Bow.
If you are playing on custom PvP servers, sometimes the Dispenser is an item you can purchase or is already provided in a kit, saving you resources.
Choosing Your Venom: The Best Splash Potions
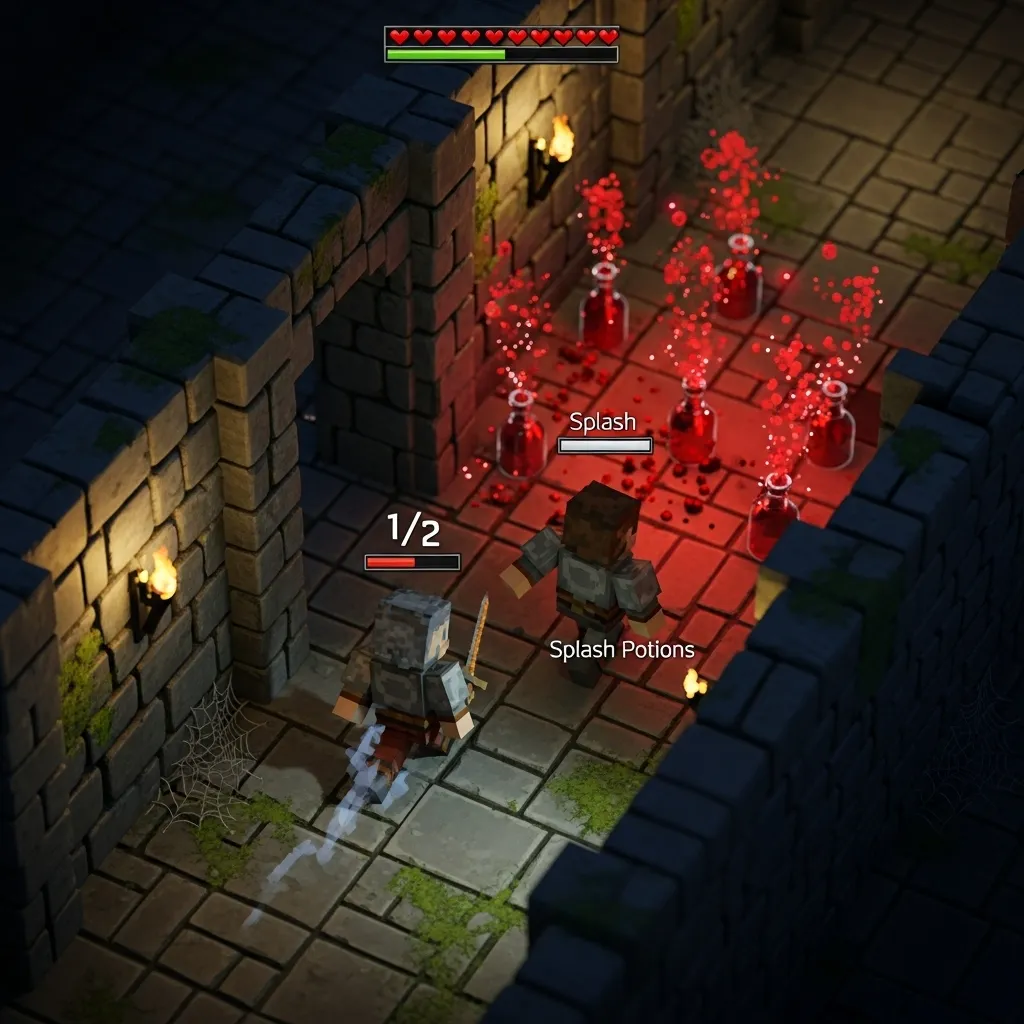
A dispenser is only as good as what you put inside it. For these sneaky PvP traps, you must use Splash Potions.
Why splash potions? Regular drinking potions take four seconds to consume. Splash potions explode upon impact, instantly applying status effects to the area.
When planning a trap, you want potions that control the fight or quickly drain health. This is the core of the “weaving and oozing” strategy.
Here are the must-have debuff potions for maximizing trap effectiveness:
- Slowness II (1:07 or 0:33): This is the key “weaving” potion. It stops strafing, slows retreats, and turns fast players into easy targets.
- Weakness (1:30): The ultimate debuff. It drastically cuts the damage your opponent can deal, often giving you time to heal or reposition.
- Poison II (0:21): Perfect for “oozing” damage. It eats away at their health while they struggle with the slowness effect.
- Harming II (Instant): Use these sparingly. They are great for finishing off an opponent or stacking burst damage immediately after the trap springs. Learning to manage limited utility items is key to winning high ping PvP.
A bar chart comparing the time cost of applying a debuff: Drinking Potion (4.0 seconds) versus Splash Potion (0.1 seconds).
This instantaneous application is why the dispenser trap is so deadly. It ensures your enemy is debuffed before they can react.
Loading Protocol and Capacity Limits
Dispenser traps are tricky because Splash Potions do not stack inside the dispenser. Each slot holds only one potion bottle.
This means one dispenser can only store nine total debuffs before it runs empty, so you need to maximize every shot.
Always load your most crucial, fight-altering potions first. Slowness and Weakness should occupy the slots that fire earliest.
This kind of meticulous resource management is essential, just like studying the complex strategies for Custom Vow SMP PvP where every item counts.
Activating the Ooze: Setting the Redstone Trigger
A loaded dispenser is useless unless you can trigger it at the perfect moment. The activation mechanism needs to be fast and hidden from view.
The goal is to spring the trap the moment your enemy enters the kill zone, before they can shield or retreat.
Recommended Trigger Setups
- Tripwire Hooks: These are incredibly subtle. Place string across a one-block gap, connecting two hooks on opposite walls or posts.
- Since the string is thin, enemies often won’t notice it until it is too late, making this great for doorway or tunnel ambushes.
- Observer Blocks: These are the fastest responders in the game. An observer watches a block, and if that block changes, it sends a redstone pulse.
- You can use an observer to watch a piston extend or a block being placed, triggering the dispenser instantly.
- Pressure Plates: The simplest method, but also the most obvious. Hide them using carpet, snow, or by pairing them perfectly with the environment’s texture.
Practice setting up these trigger mechanisms quickly. The faster you can deploy and prime your trap, the more successful your field PvP will be.
Which debuff potion do you think offers the most reliable win condition when sprung in a surprise trap?
Sequential Trap Strategy: Maximize Lethality with Timed Effects
The Domino Effect: Why Timing is Everything
A single splash potion trap is good, but it usually won’t guarantee a kill in serious PvP.
Think of it like trying to knock down a wall with one punch. It might hurt, but the wall is likely still standing.
Sequential trapping, or layering effects, is how the pros turn a skirmish into an instant fatality.
You aren’t just hitting them with one bad thing. You are hitting them with a series of timed, escalating disadvantages.
The key is making sure the first effect sets up the second effect, making escape impossible and heavy damage unavoidable.
Phase One: Disruption and Control
The goal of the first potion isn’t to kill them. The goal is to strip away their mobility and control options.
We call this “locking down.” If they can’t move quickly or see clearly, they can’t run from the real killer trap.
Potions like Slowness II (1:30 duration) or Blindness are essential openers for this strategy.
A successful slowness trap lets you immediately follow up with physical blocks, or even deadly lava buckets.
Learning advanced Minecraft PvP feinting and trapping techniques helps guide the enemy exactly where you need them to trigger the sequence.
Phase Two: Stacking Debuffs for Lethality
This is where the oozing potion trap comes into play. It must overlap with the remaining time of the first effect.
If your Slowness lasts 20 seconds, you should throw the damaging potion within the first 5 seconds to maximize the overlap period.
The best lethal overlap sequences combine mobility loss with health degradation or a massive damage reduction to the enemy.
Don’t underestimate Weakness. It severely lowers the damage they deal back to you, even though it doesn’t hurt them immediately.
A bar chart illustrating the Lethality Index: Slowness Only (5), Poison Only (6), and Sequential Overlap (15). Sequential trapping multiplies the effectiveness.
The chart above shows why the combined effect is so much more powerful than two separate, single-use traps.
The synergy of effects multiplies your combat advantage.
Common Lethal Sequential Combinations
Practice these specific trap sequences to master the art of the potion combination kill.
These sequences rely on having the first potion hit, waiting one second, and then immediately throwing the second potion.
| Sequence Name | Potion 1 (Disruption) | Potion 2 (Lethality) | Goal of the Combo |
|---|---|---|---|
| The Cement Mixer | Slowness II (1:30) | Poison II (0:45) | Immobilize and drain health simultaneously over a short period. |
| The Glass Cannon | Blindness | Harming II | Prevent them from locating your position or seeing the high-burst damage incoming. |
| The Defensive Drain | Weakness (1:30) | Slowness II (1:30) | Neutralize their fighting ability while ensuring they cannot chase or quickly retreat. |
| The Reaper | Mining Fatigue III | Harming I | Great for preventing opponents from quickly bridging or placing defensive blocks. |
Remember, the goal is not just damage, but the frustration of being unable to respond effectively.
Practicing these timed sequences takes intense focus, so use Minecraft PvP practice drills to refine your throwing accuracy under pressure.
What is the most unexpected potion combination you’ve ever been defeated by in a tense PvP situation?
Redstone Blueprints for Delayed Oozing Activation
The Sneaky Art of Delayed Activation
Using potions instantly might seem powerful, but in PvP, speed often works against your strategy.
If a splash potion hits the moment an enemy steps on a pressure plate, they know exactly what just happened.
They will immediately try to escape using an Ender Pearl or a quick block placement.
The true trick to successful oozing potion traps is leveraging Redstone delay to create surprise.
You need to secure them first-maybe with a web or a sticky piston-and then deliver the pain a moment later.
Blueprint 1: The Repeater Chain Timer
Redstone repeaters are your most reliable tools for controlling time in Minecraft traps.
Each repeater adds a small, predictable pause to the electrical signal.
You can adjust this specific delay by right-clicking the repeater itself, cycling through four different ticks.
To get a longer delay, you simply connect many repeaters together in a long line.
Let’s look at the basic delay settings for one repeater:
| Repeater Setting | Delay (Ticks) | Delay (Seconds) |
|---|---|---|
| Setting 1 (Default) | 1 Tick | 0.05s |
| Setting 4 (Max) | 4 Ticks | 0.20s |
If you need a 1.6-second pause, you can use eight repeaters all set to their maximum delay (8 x 0.20s).
Setting Up the Ooze Delivery System
The signal that comes out of your delay circuit needs to power your dispenser filled with harmful potions.
First, choose your trigger. A simple tripwire hook works perfectly in narrow choke points.
Run the initial Redstone dust from the block powered by the trigger.
This dust path immediately feeds into your desired chain of repeaters.
At the very end of the repeater chain, the signal must connect directly to the dispenser block itself.
In high-stakes environments, such as when you are planning your base defense strategies, precise timing is essential for maximizing trap effectiveness.
Knowing the exact duration of your delay helps you coordinate follow-up attacks or block placements.
The Hopper-Comparator Loop (Long Delays)
What if you need a delay longer than just a few seconds? Skip building a massive repeater snake.
This is useful if you want the victim to think they successfully bypassed the trap before the damage is deployed.
The hopper-comparator loop offers a clean, space-efficient circuit for extremely long timing.
You set up two hoppers pointing into each other, creating a cycle.
A comparator pulls an output as items transfer back and forth between them.
The length of the delay is determined by the number of items you place inside the hoppers.
For advanced PvP traps, you usually only need 5 to 10 seconds to fully incapacitate your opponent.
However, the potential for delay in this setup is huge.
A bar chart comparing maximum practical Redstone delay times: Single Repeater (4 ticks), 20 Repeaters (80 ticks), and Hopper Clock with one stack of items (34560 ticks).
Mastering these delayed activation blueprints moves your traps past simple contact damage.
It turns them into clever psychological warfare, where your enemy is punished long after they mistakenly think they are safe.
What is the longest meaningful delay you have successfully utilized in a successful PvP trap?
Dynamic Baiting and Scenario-Based Deployment
The Art of the Setup: Making Yourself Vulnerable
A trap only works if your opponent steps into it willingly. You need to become the cheese, and the trap is the mousetrap.
In PvP, this means engaging in psychological warfare. You must convince your enemy that chasing you is the smarter, easier option right now.
This preparation is called dynamic baiting. You are actively moving and positioning yourself to draw the target exactly where you want the potions to land.
The “Low Health” Feint
One of the oldest tricks in the book is pretending you are just about to lose the fight. Stop strafing aggressively for a moment.
Start retreating in a relatively straight line, but do not move too fast. Make your path look like a panicked escape route.
This instantly triggers your opponent’s greed. They see low health and immediately commit to the pursuit, causing them to ignore their footing.
Blocking and Movement Bait
You can also use intentionally imperfect movement as bait.
Briefly stutter your sprinting or momentarily block with your shield when it is not strictly necessary.
These small, imperfect actions signal weakness or technical difficulty. The enemy thinks they can lock you into an easy combo.
If you master advanced Minecraft PvP feinting and trapping techniques, your opponent will rarely notice the true trap until it is too late.
This momentary lapse of focus is the ideal time to pivot and throw your “oozing” splash potions.
Perfect Placement: Scenario-Based Trap Zones
Weaving traps are all about controlling the environment and forcing compliance.
You want to deploy area-of-effect potions, like Slowness II or Weakness, in spots they cannot easily avoid.
Since potion effects linger on the ground for a short time, the goal is to target an area that overlaps their expected path, not just the player directly.
Corridor Funnels and Chokepoints
Narrow corridors, cave entrances, or stairwells are incredibly useful. These spots force your enemy into following a single, predictable path.
When they enter the chokepoint, throw the potion at the ground right between you and the incoming enemy.
This applies the negative effect and forces them to make a difficult choice: wade through the status effect or retreat entirely.
If they retreat, they become easy targets for your ranged attacks. If they push, they are fighting at a major disadvantage.
Here is how effective chokepoints are for landing potion effects consistently:
A bar chart showing potion trap success rates: Open Field (35%), Corridor/Choke (75%), and Elevated Retreat (50%).
Chokepoints boost your success rate because the enemy’s available movement options are severely limited.
This strategy is very common in complex team games. You can learn more about how to exploit these structures in raiding and defense in HCF survival guides.
Elevated Retreats
If you are fighting in an area with vertical elements, use the height advantage. Retreat swiftly to a higher block or platform.
When the enemy rushes up to meet you, throw your splash potion down onto the steps or the narrow ramp they are climbing.
They are now slowed or weakened while they are stuck in the climbing animation. This is the moment you turn to initiate your counter-combo.
This tactic is powerful because climbing or using an ender pearl to gain height is already a vulnerable action for the attacker.
Combining Weaving and Oozing
The strongest traps use multiple methods to ensure the enemy cannot escape the effects.
Consider this reliable step-by-step approach for maximum control:
- Bait the enemy into chasing you through a narrow passage.
- Place a block, a sweet berry bush, or a fire source immediately behind you to create a physical barrier (Weaving).
- As they enter the restricted area, splash a Potion of Slowness II directly onto the obstruction (Oozing).
- The enemy is slowed, taking minor tick damage from the bush/fire, and trapped in place, guaranteeing your subsequent sword combo.
Remember, your goal is not just to deal damage with the potion itself.
The true goal is to control their movement and completely ruin their ability to fight back effectively.
What specific types of negative effects do you think are the most valuable for guaranteeing a successful sword combo after a trap?
Mastering the Art of Control
We’ve walked through the deadly dance of the Weaving and Oozing meta.
Remember, PvP isn’t just about swinging your sword fastest. It’s about taking away your opponent’s ability to fight back.
Weaving with Slowness II locks them down, turning a chaotic duel into a controlled execution.
Oozing applies that persistent pressure, forcing panic and fumbled heals.
Master the timing, hide your dispensers well, and practice that perfect Slowness-Poison sequence.
When you control the movement, you control the match. Go out there and start weaving your own winning traps!
Frequently Asked Questions
What is the main difference between “Weaving” and “Oozing” in this PvP meta?
Weaving is all about control. It refers to using potions like Slowness to stop your enemy from moving or strafing effectively.
Oozing is the damage phase. This is when you apply nasty status effects like Poison II or instant Harming to drain their health.
Why are Splash Potions essential for dispenser traps?
Splash Potions are critical because they apply the status effect instantly upon impact.
If you use a regular potion, the enemy would have to drink it over four seconds, which defeats the purpose of a fast trap.
Which redstone mechanism works best for a truly sneaky trap?
Tripwire Hooks and Observer Blocks are generally the sneakiest options.
Tripwires use thin string that is hard to see, making them great for doorways or tunnel ambushes.
Observers are incredibly fast and send an instant pulse when a block changes near them.
In the Oozing phase, should I use Harming II or Poison II first?
You should generally use Poison II first. It provides continuous, chipping damage while they are slowed.
Harming II is better saved as a finisher. Use it right before the final sword combo for that instant burst damage.